For this year’s Midsummer Scream, we had a scene that showed that a witchcraft had been hastily practiced in a hurry.
We needed to have lots of impliments and ingredients to show spellcasting had been done, but on the mobile.
The first thing we did was go to the Long Beach Antique Market. We were lucky enough to find exactly what we were looking for, this antique tackle box: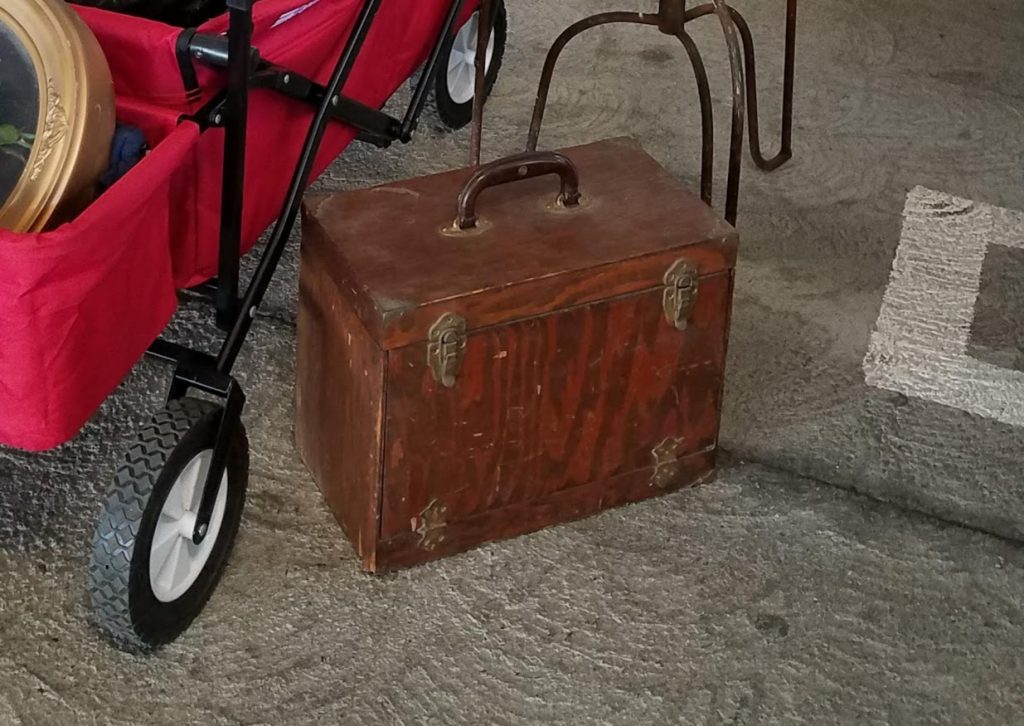
In another life, I was an aspiring apothecary hobbyist, so I had a bunch of leftover little glass bottles and very appropriate “potion” containers. If you’ve not got anything appropriate laying around, you can find these relatively cheap on Amazon.
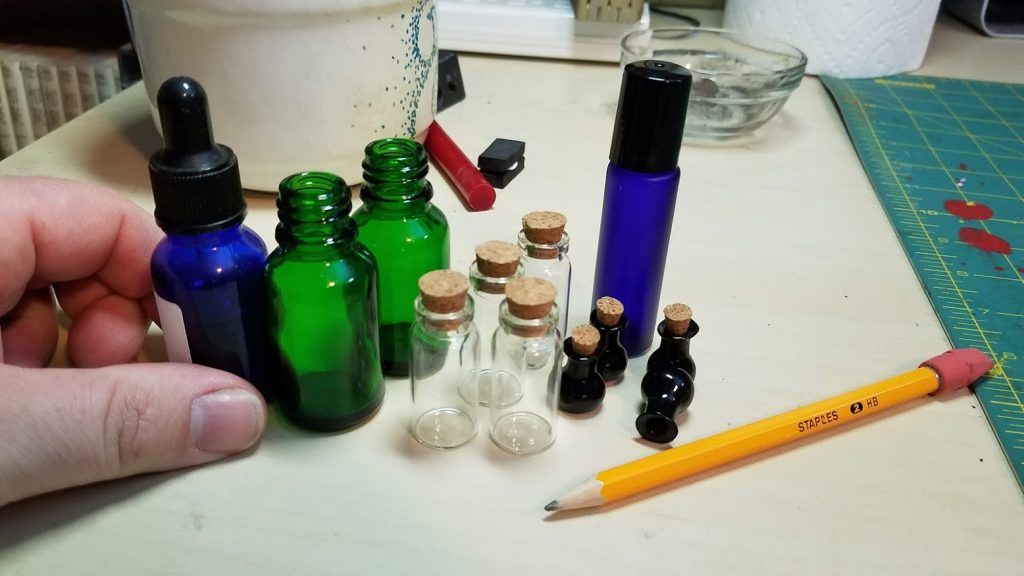 Other jars: Clear Jars w/cork $4.99, Tiny Colored Potion Jars w/corks
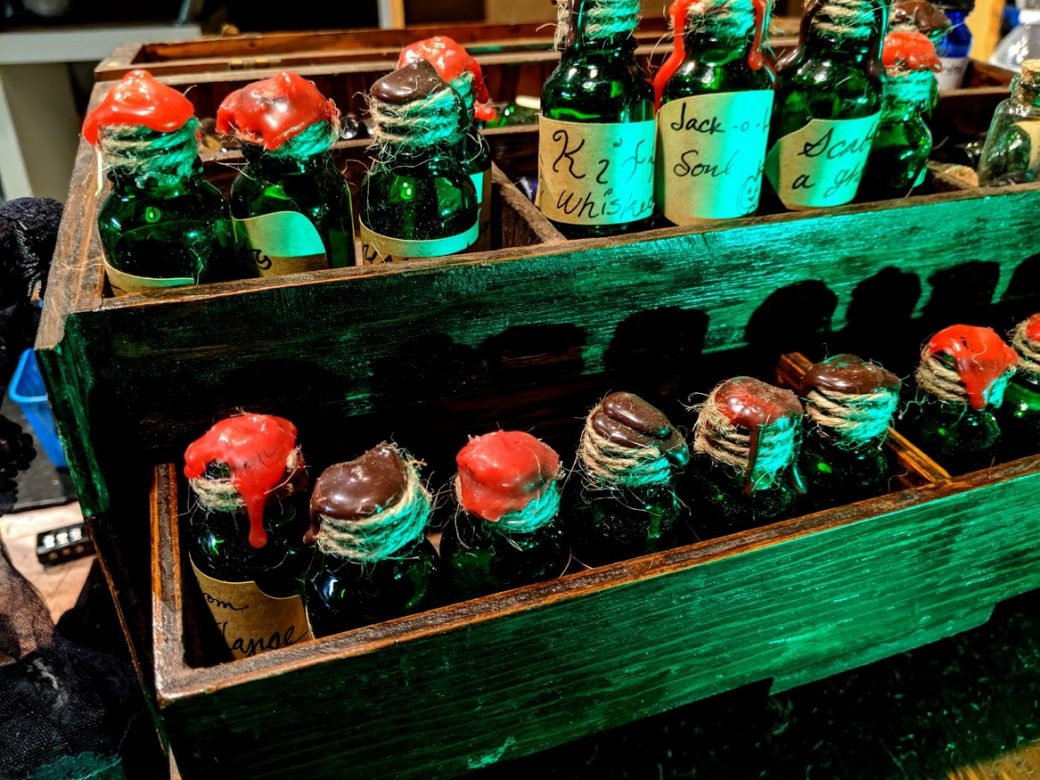
I wanted to “dress” these jars in a pretty standard “rustic” look but make them look old fashioned, so we’re going to add some twine and faux “sealing wax”. Here’s some other things you’ll need:
- Cotton balls
- Colored Hot Glue (Red, brown, black, green)
- Twine
- A hot glue gun (or hot pot, like shown in the photos*)
- Craft paper tape or labels & a fine point Sharpie.
- Scissors
You could even put ingredients or objects in these before you start. I would stick to dry ingredients and objects. We’re not making these “sealed” so they will leak if you put liquid in them. (Although you could simulate liquid by painting the inside of the bottles before starting)
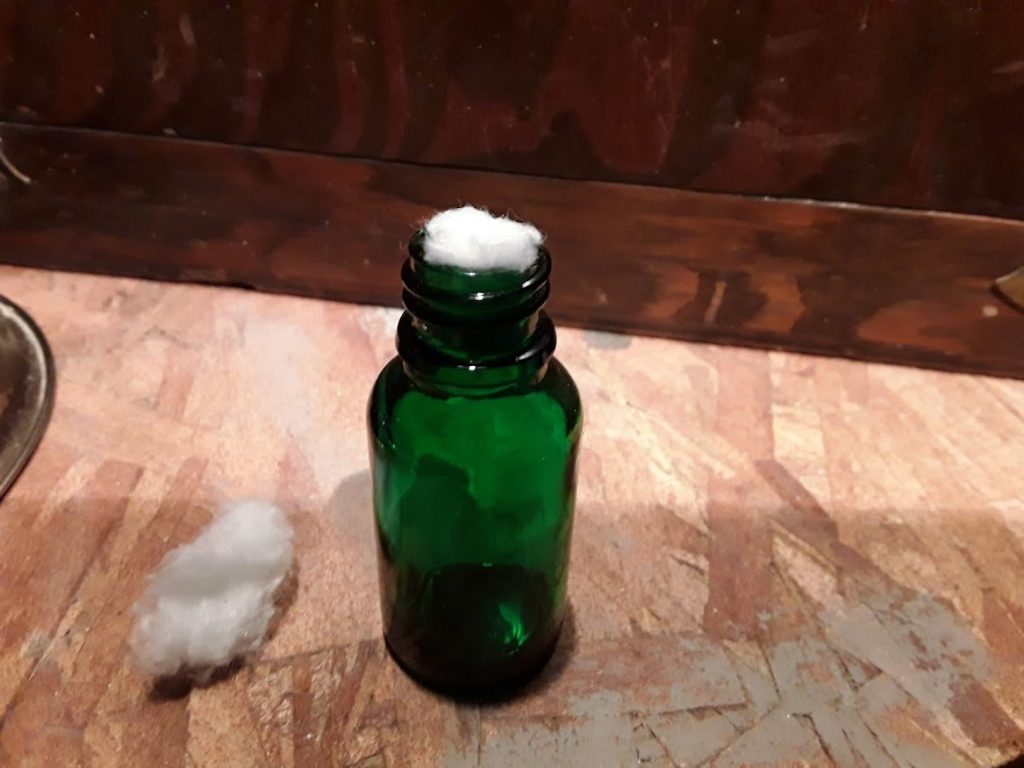
Step One: Stuffem!
- Stuff the bottle tops with a little bit of cotton balls. (If they have corks, you can skip this step and just leave the corks in.) This will prevent the hot glue from the later step from dripping down into the bottle. You don’t need a whole cotton ball. 1/3 or so is just enough. You want it to be tight and packed that it won’t fall in, but not too much that it’s huge on the top.
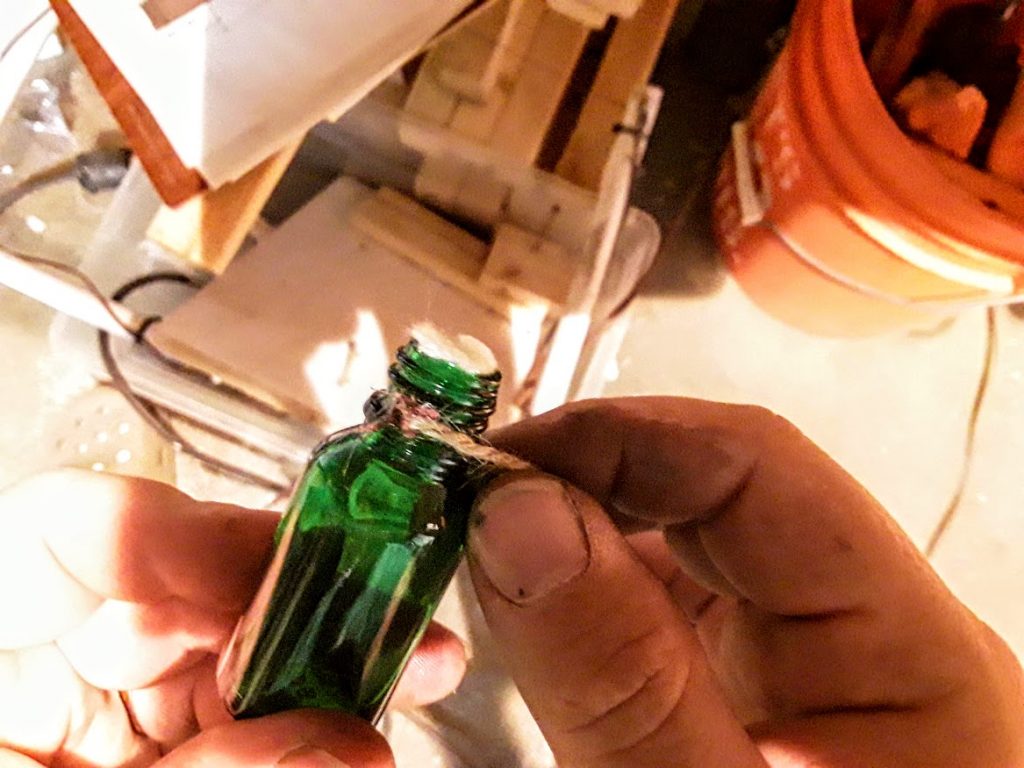
Step Two: Wrap with twine.
- Cut about 5″ of twine (depending on the size of your bottles) and apply a tiny amount of melted hot glue to one end.
- Quickly stick/press (Carefully so you don’t burn yourself!) that end of the twine to the lower end of the neck on the bottle. The glue will keep the end stuck to the glass so you can begin to
- …wrap the twine around the neck. When you get to the end of the twine,
- …carefully apply another tiny amount of glue to that end and apply it to the bottle. This will keep your twine in place and from unwraveling.
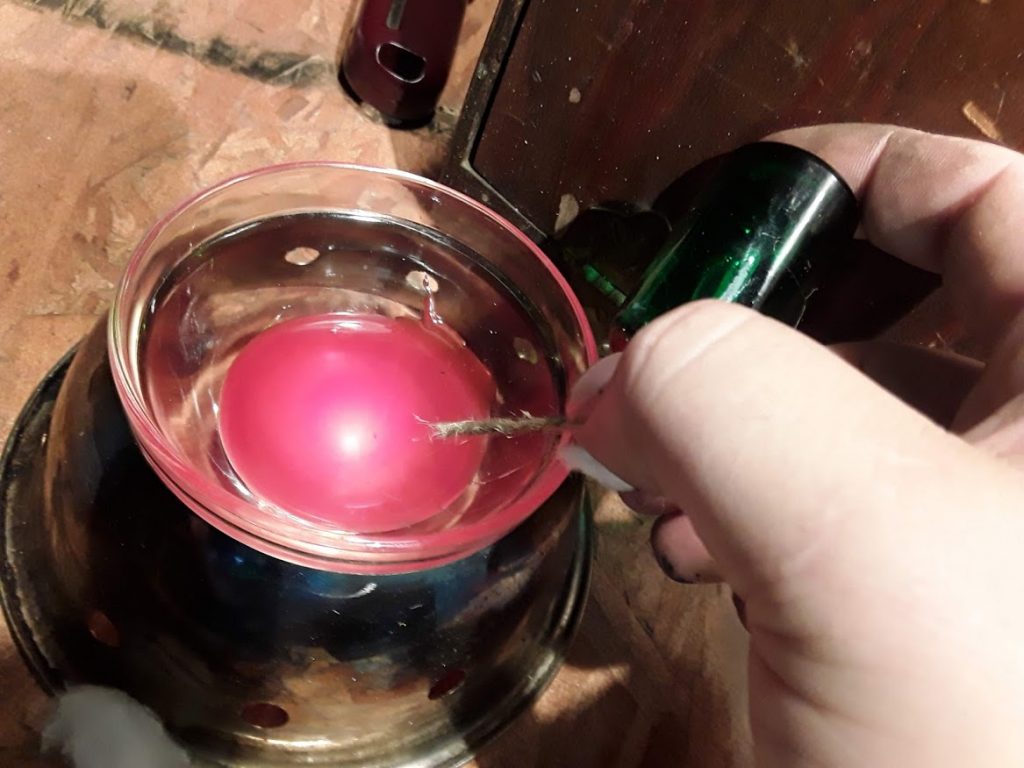
(*NOTE: In these photos we are using a home-made hot-pot to melt and apply the hot glue. This works, but we ended up switching to the actual glue gun after these pics were taken and we found it easier and less time consuming.)
Step Three: Apply the “Wax” seal. We used hot glue because real wax would not last. It would crack and crumble over time.
-
-
-
-
-
-
-
-
-
-
- If you’re using a hot-glue gun, you can just carefully squeeze glue over the top of the cotton ball and edges of the bottle, like a cap. It looks best if you “guide” the drips so that they hang down the sides just a little. Make sure to have the glue come down around the twine a little bit.
- If you’re using the hot-pot method, simply dip the top of the bottle in the hot glue a couple of times, turning the bottle upright between dips to help the glue drip down the sides.
-
-
-
-
-
-
-
-
-
We used different colors like red, black, brown. Earthy colors work best.
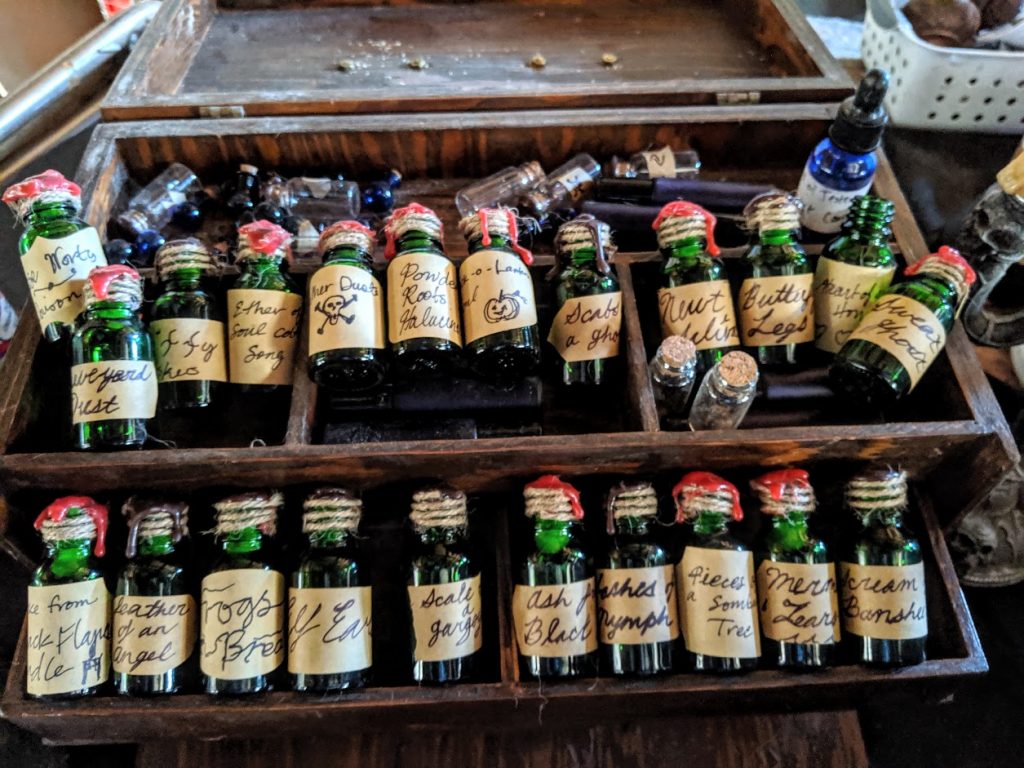
Step Four: Apply the labels.
We used “craft paper tape” and some pre-cut labels for our bottles. Write the witchy-sounding ingredients on the labels before you apply them, it’s easier. Here’s a short list of witchy ingredient names we used:
- Powdered root of Halucincia
- Jack-o-Lantern Soul
- Newt Spit
- Sweat of a Ghost
- Sawdust from a Coffin Shoppe
- Frog’s Breath
- Smoke from a Black Flame Candle
- Pieces of a Sombre Tree
- Scream of a Banshee
- Heart of a Harlot
- Ether Dust
- Ether of a Soul Catcher’s Song
- Ash of Blackroot
- Mermaid Tears
Thank’s for reading! If you make something inspired by this project, let us know in the comments below and use the hashtags #HorridIllusions & #GothicHills when sharing on social media so we can see!
Thanks to Tania Escobar for helping me make these.
Photography © Horrid Illusions. Do not use without permission.